
Two years ago, a friend of mine, Lupita, gave me a brick oven for my birthday. Sound like a strange gift? Even stranger is that she and her husband came over and actually built it for me. I was so touched!!! You can see that oven here.
For various reasons, it didn’t get used as much as it should have. The main problem is where I had her build it. I thought that behind the house would be the best, since we had planned to build a patio and palapa back there. However, until we built an awning of some sort, there was absolutely no shade. Plus, it was really far from the front door. When we finally laid a cement floor behind the house last summer, it ended up too close to the oven and…well, we finally just knocked the brick oven down and stacked the bricks to reuse…someday.
Last fall, I joined a forum called Forno Bravo Pizza Ovens. Pretty interesting reading, actually! I downloaded some free plans for a brick pizza oven and began to research the best way to do it.
I showed my ideas to my friend Shari when we were in Oregon last February. She said that if it worked out, she wanted one! Well, Shari, start planning your outdoor kitchen!!!
I’ve waited to post about this for fear that it just wouldn’t work. With all the substitutions and tweaks to make it fit our climate and work with what was available here – plus the fact that I’m less than amateur – I was sure it would cave in halfway up the dome!
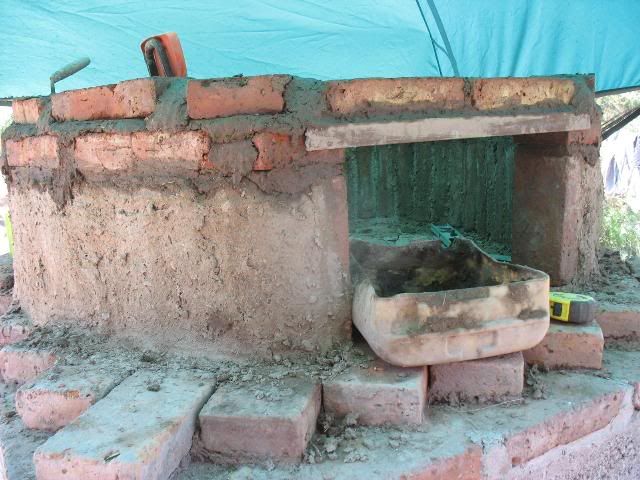
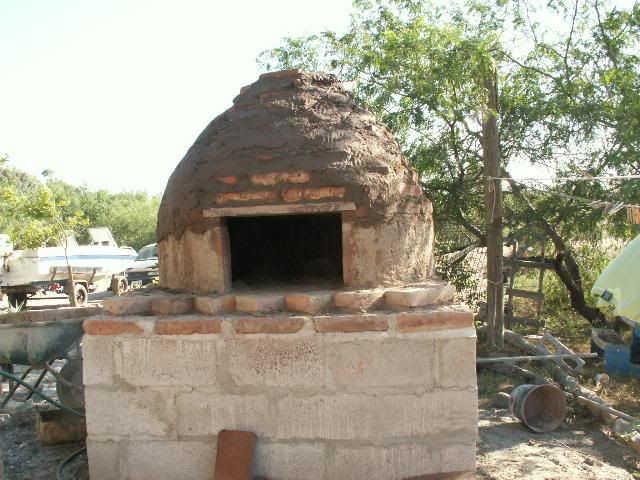
Guess what??? It’s finished! Well, not exactly “finished” but the bricks are all laid and the first coat of exterior mud is on. It’s still standing!!! Hurrah!!!
So, rather than bore you further with my ramblings, I’ll share pictures of the process…and it was indeed a process!!!
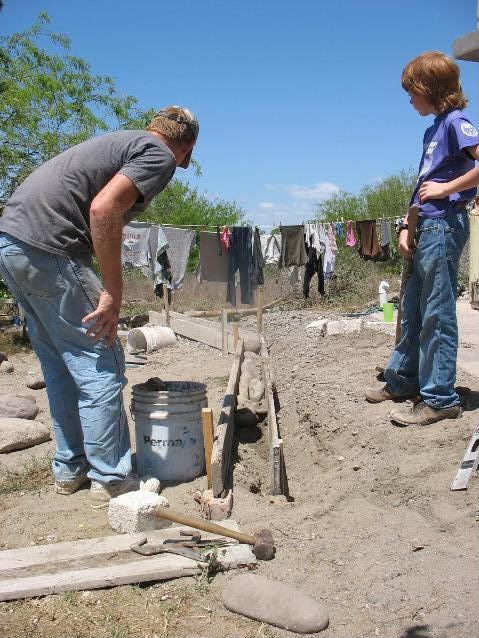
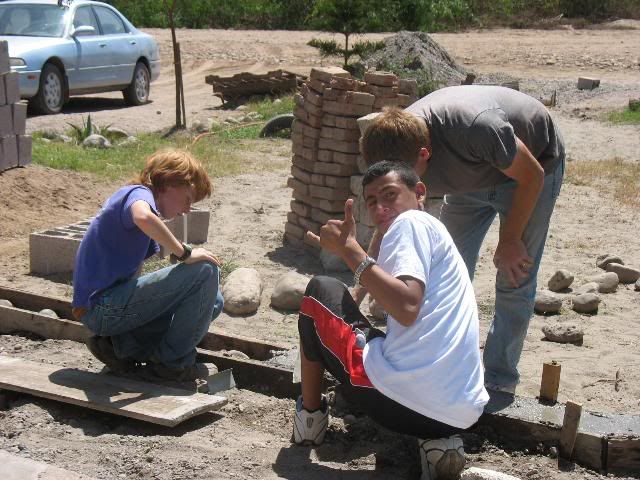
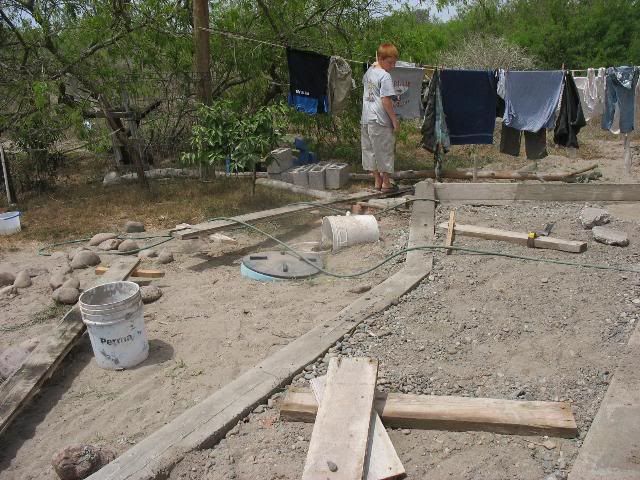
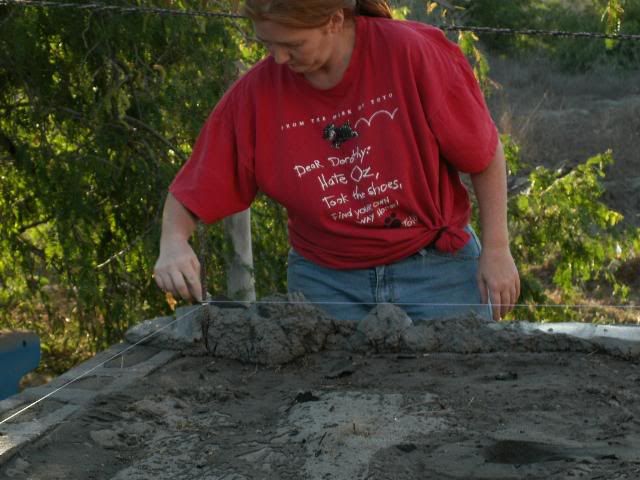
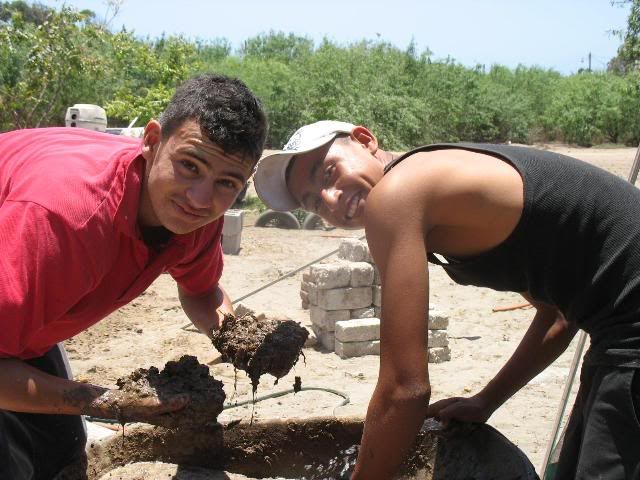
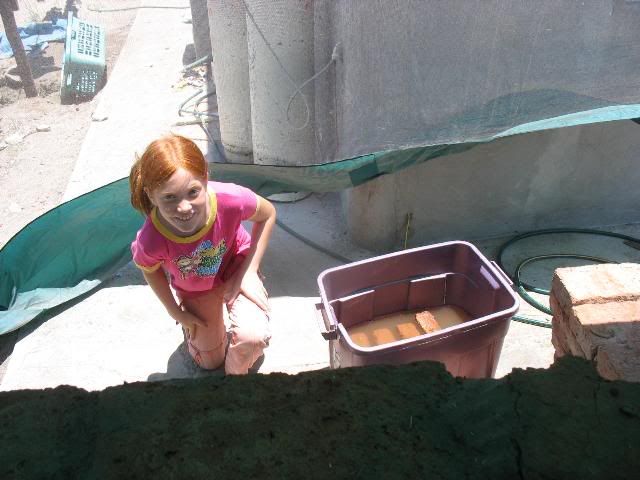
First we prepared the area. This was a job which Doug and the boys did. Doug poured a cement wall and the boys filled it in with rocks and sand. Esteban and Aby even got in on the fun!

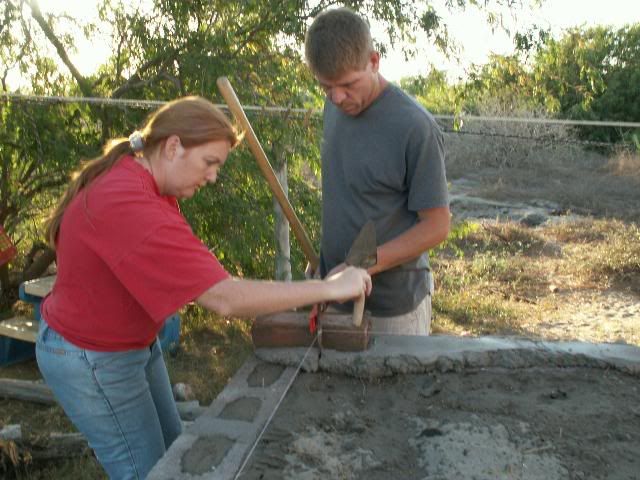

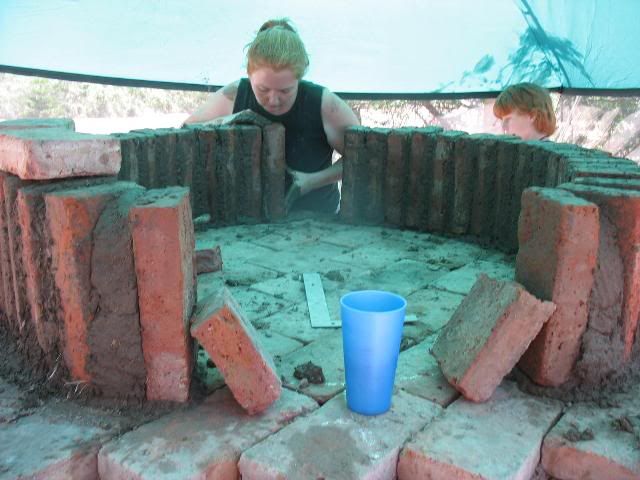
I put off starting the “body” of the oven for several weeks. I was so afraid I would mess it up!!! Ramon de Rosales stopped by and offered to help. Victor from Boca offered to do it for me. Ramon from Boca offered to help, too. I kept saying, “No, but thank you.” I changed my mind about how to form the thing half a dozen times – vacillating between my two main options: Do I lay the brick flat and tip them to make a “fan” sort of shape (like the official oven plans had said to do) or do I do it like everyone around here does it? Most of the brick ovens I’ve seen around here look pretty rough. I had a picture in my mind of how I wanted the finished product to look. "Rough" is not the look I was going for.
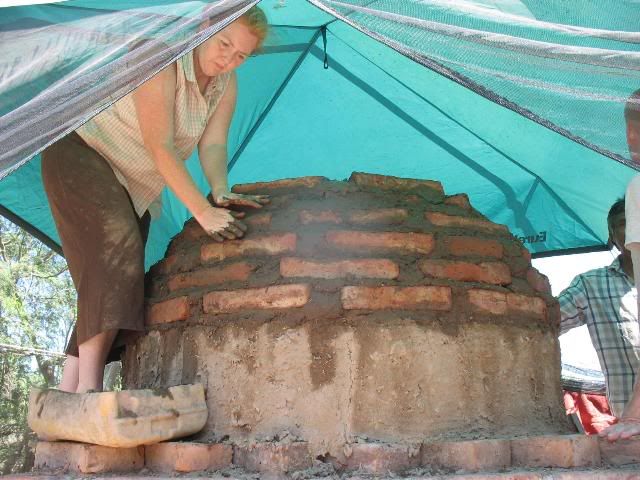
Finally, I decided to lay the bricks flat and stair-step them like everyone else does around here. Esteban and Julio finally convinced me that was the best way and that no way would it cave in. I told them that if it did, I'd blame them!
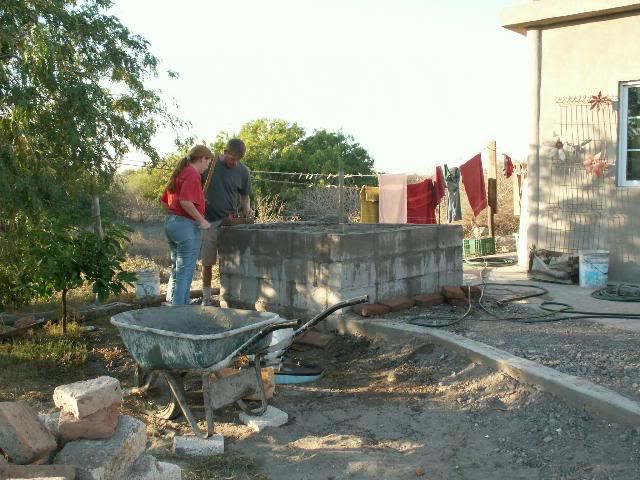
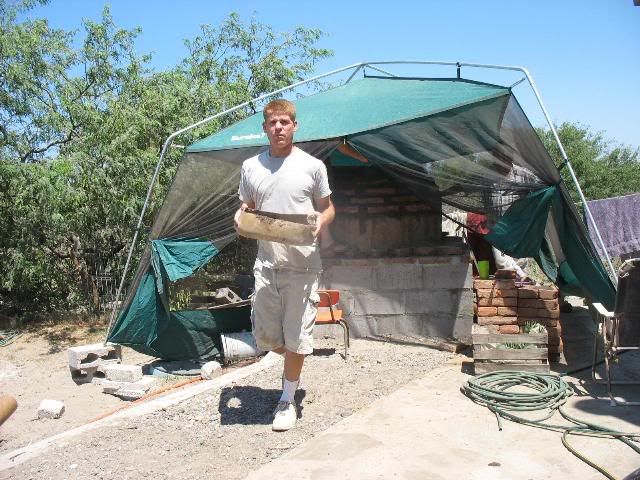
So we began!!! BTW, special thanks to Steve and Gloria for the canopy!!! You can see it's being used well!!!
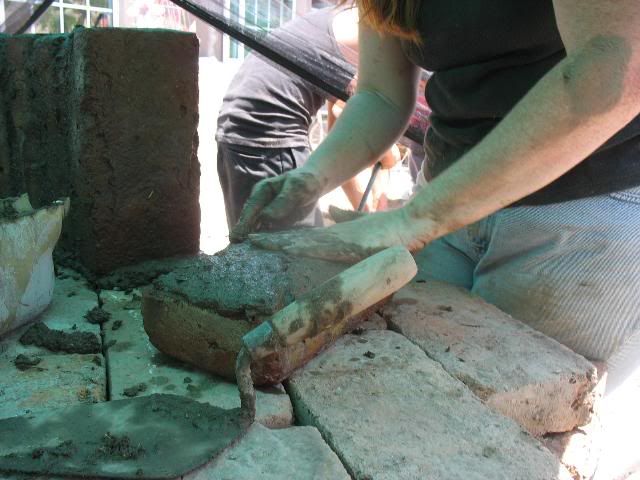
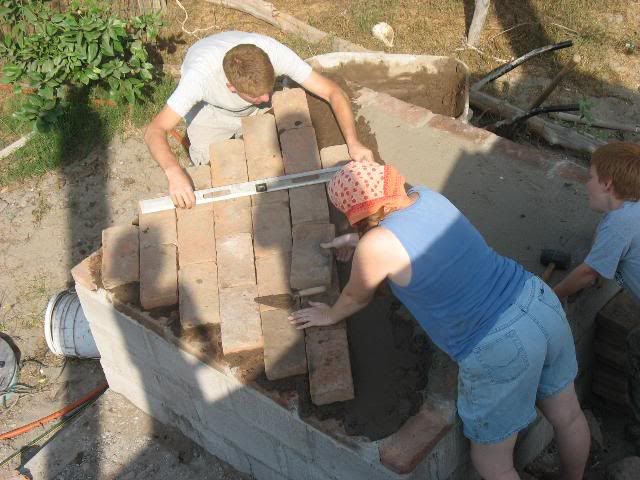
A week later came a pass of flat bricks. I had to wait until I had a whole morning free, and those don’t happen that often!!!
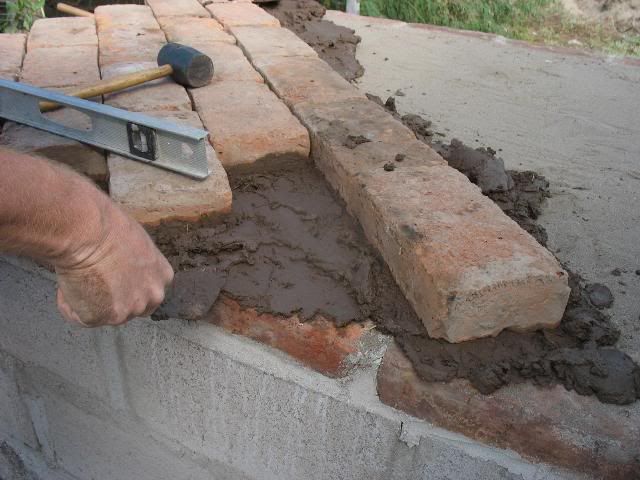
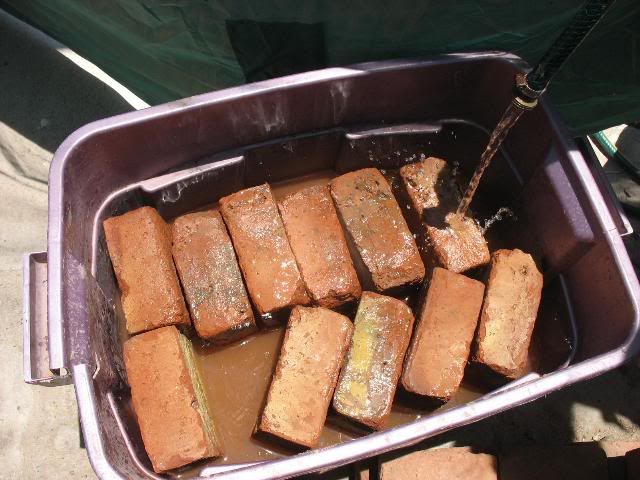
The bricks stick better when they are soaked and the mud doesn't dry so quickly.
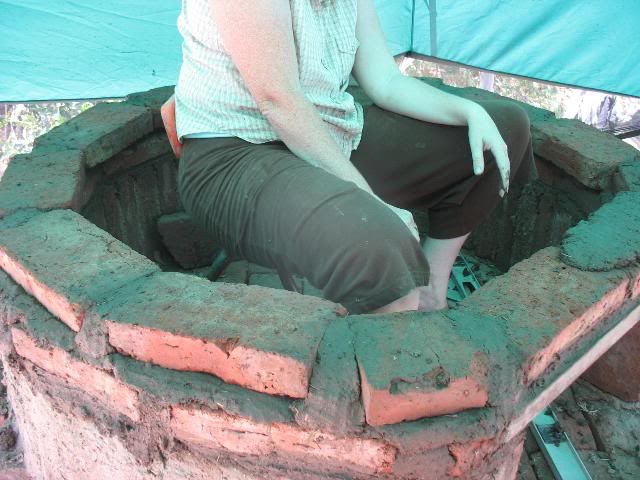

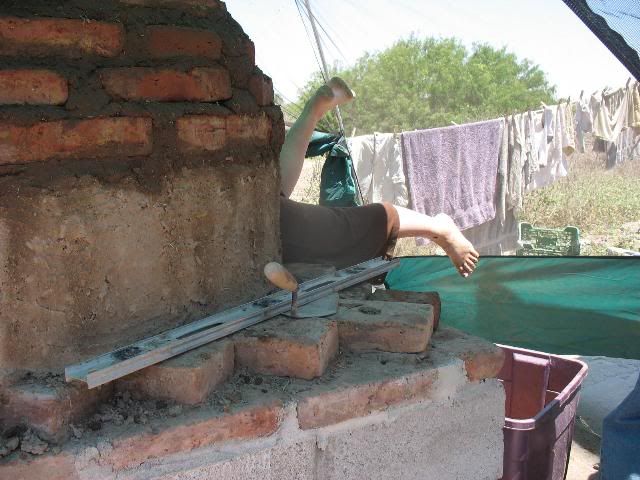
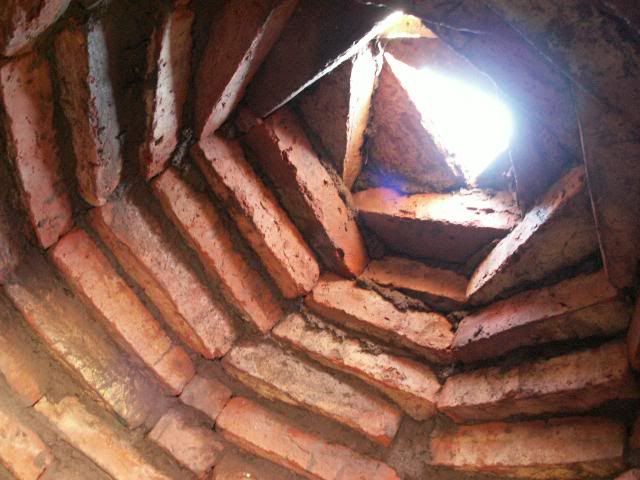
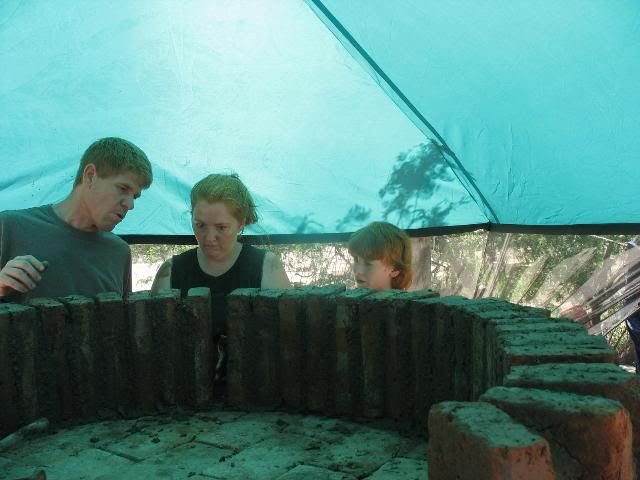
The hole serves as a chimney. This is another technical thing which I was going back and forth about. All the oven plans I found included a chimney or a vent of some sort at the front of the oven. Every one here leaves a hole either at top or directly at the back. You have to have some sort of breathing hole, so finally we decided that we'd do it the Mexican way. When it's finished, a single brick is laid over the hole during cooking to keep the heat in.
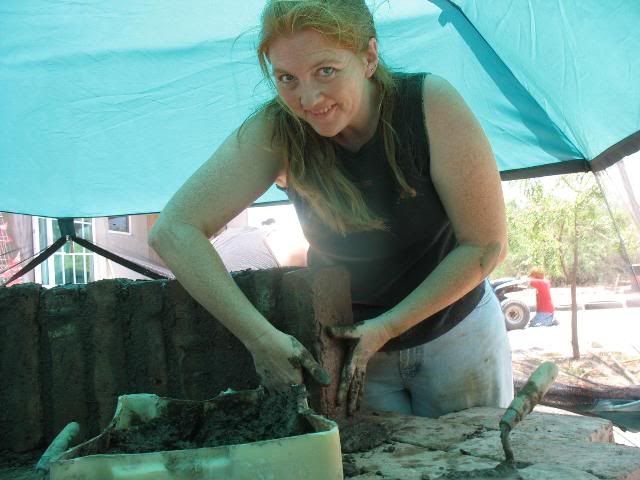
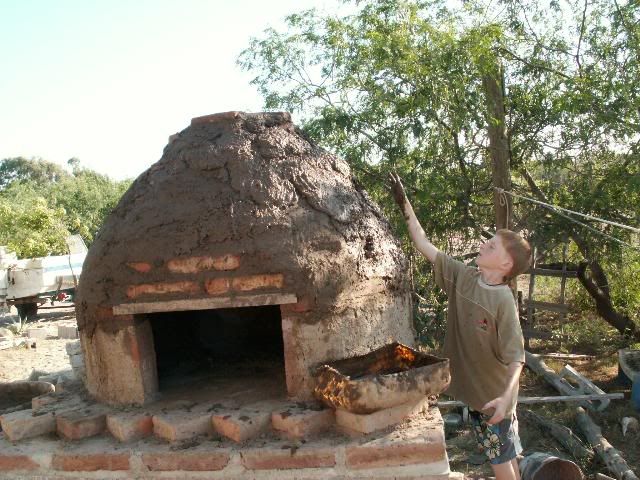
Thursday, we began building the dome, today (Friday) we finished the dome and almost finished the exterior mud. Seth and Doug and I had fun throwing the mud on. It was especially nice to be able to stand up straight while working! The canopy made it possible to work in the blazing sun, but I think my back will never be the same again!!!


4 comments:
Thanks for sharing the process of building the oven. My hubby uses an oven similar to that at his sister's home in Salisbury on Saturdays when we get together to bake bread. The one we use is actually part of the downstairs part of their home. When my sister in law's husband's mother was alive they would bake bread in it to sell.
wow! Awesome! What a great job! Now I wanna make one. :) Someday maybe I can talk my hubby into one. There are lots of those here in Peru. Your's looks like a beehive. So cool! Thanks for sharing the process. Now I can't wait to hear how your pizzas and bread come out. :)
Wow, that brick oven looks great! I think it’s so cool that you decided to build your own oven to bake your pizzas in. I also think it makes the experience and the taste more authentic. There really is nothing like a real brick oven to make your pizza spectacular! Anyway, how long did it take for you to finish the oven?
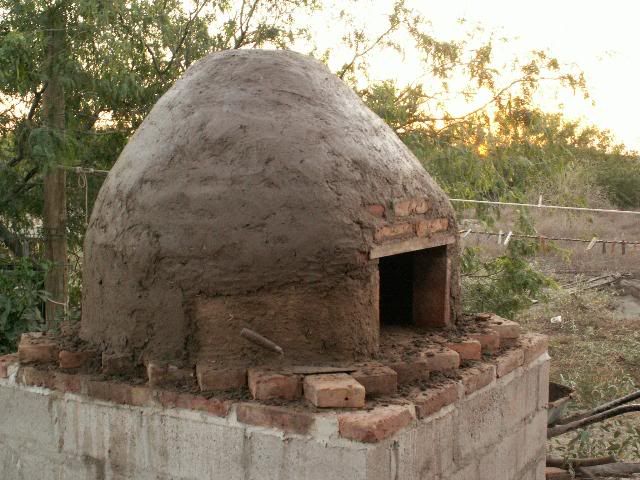
Once the base was built, I think that from the floor to the roof it was about a 3-day project. It probably would have gone faster, but it was really HOT so I didn't work in the afternoon. Later, I had a friend put stucco on the outside to protect it from the weather.
Post a Comment